前言
繼上篇文章,快速進行MVC CI/CD 這部分相對的有很多使用者還在使用這種架框,本篇使用Framework 4.7.2 ,當中有得知一些github actions小技巧。本篇只有到Publish,剩下請參考上篇使用方式。
Github Action
一、創建Workflow
下方參考使用方式。
注意 : MVC 建議是使用Windows系統進行編譯,這邊再次聲明 MVC Framework 是用 MSbuild 會跟上篇 CLI使用方式有差異 。
1 | name: dontnet Mvc to CI Test |
二、創建FolderProfile.pubxml
如過上方圖有通過,恭喜你可以跳過這邊。
MVC初始化的專案是沒有.pubxml相關的檔案,下方直接用快速方式創建.pubxml。
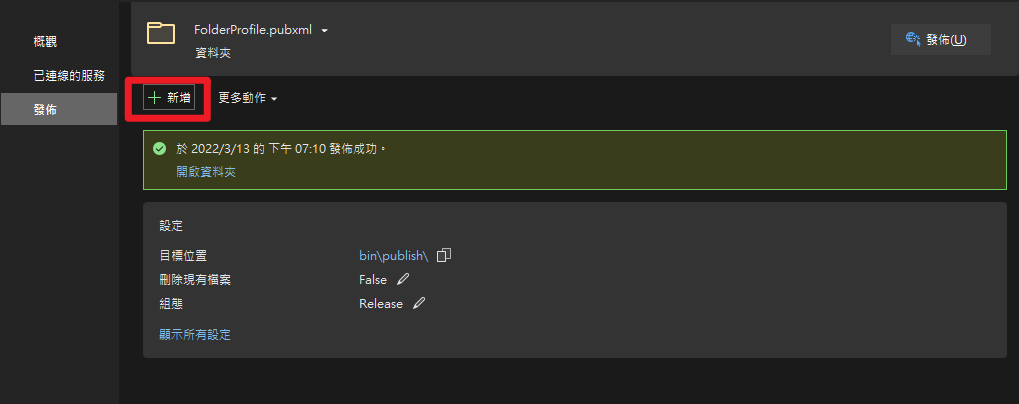
按下[建置]->[發佈]。
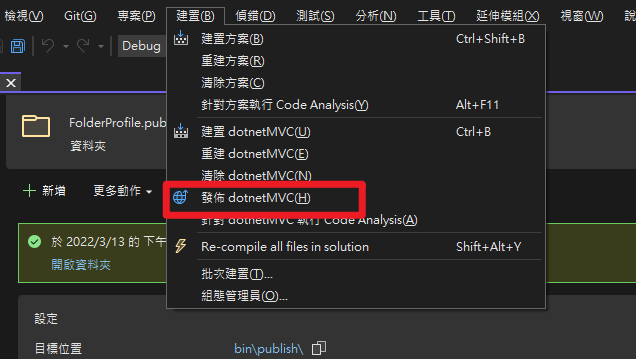
如果事先有發行過的可以再新增一個。
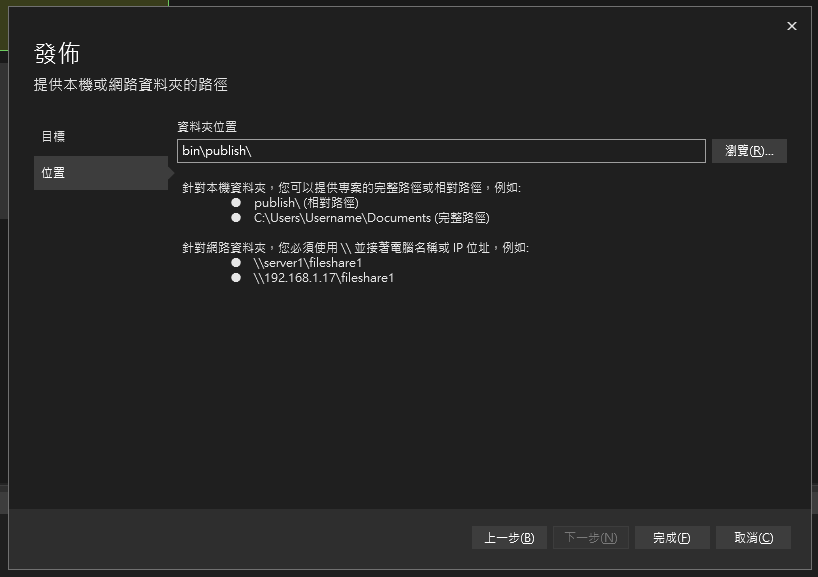
選擇資料夾,直接按下下一步、完成

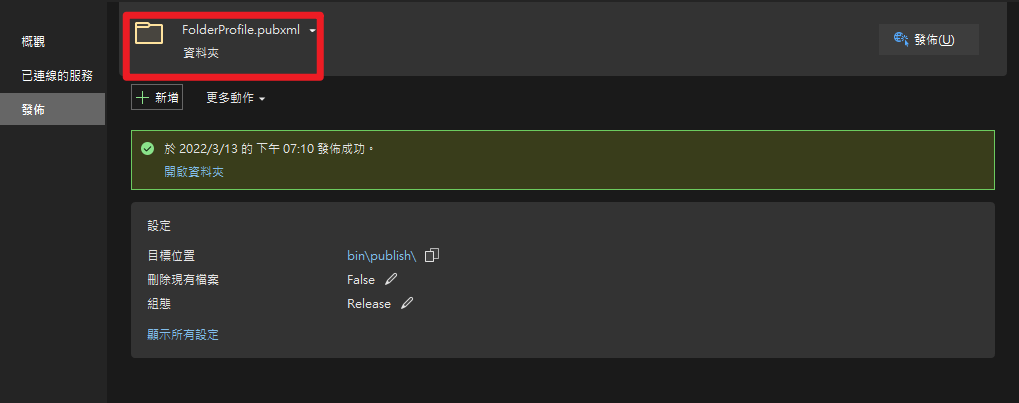
產生完成,也可以用下拉式查看有哪些.pubxml
三、確認最後小問題
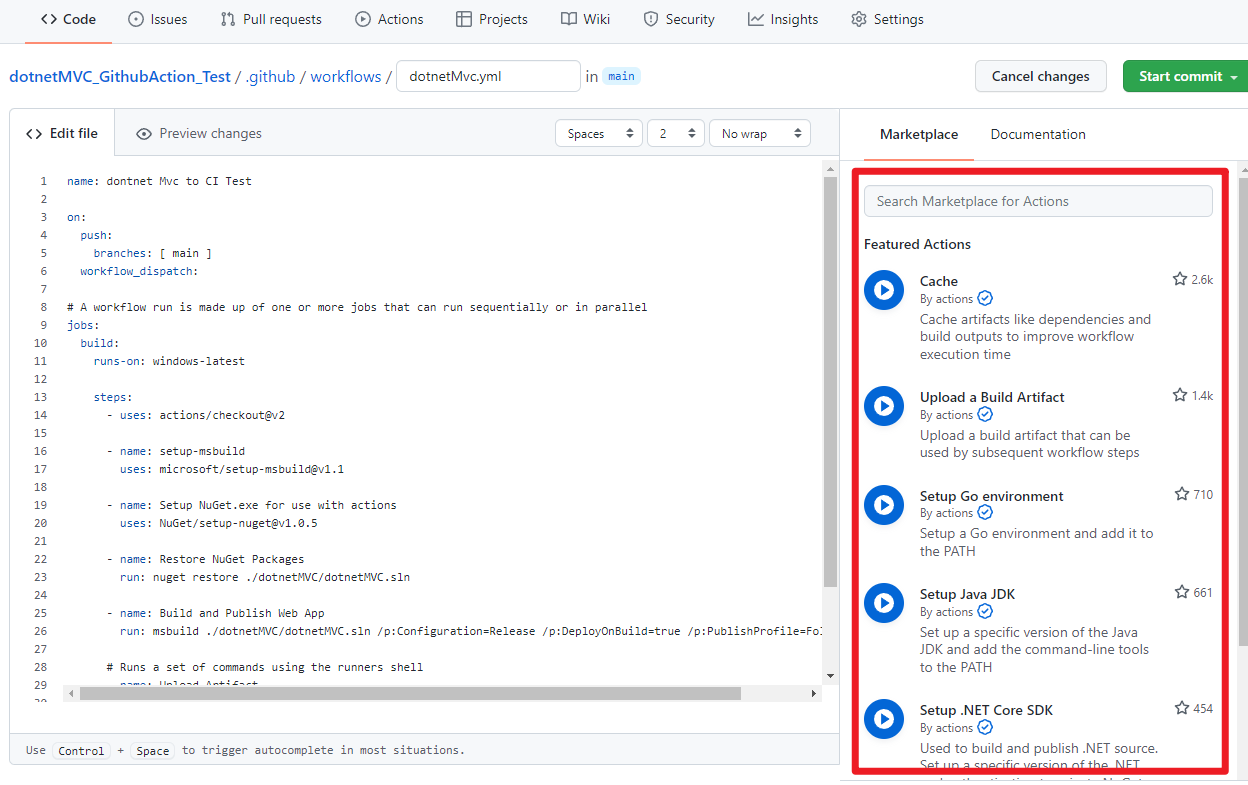
- NeGet 失效?
NeGet 安裝失效問題,網路上很多有寫Nuget動作,但是怎樣做都會失敗。排除方式可以看右側選項,Github Action提供很方便的功能,可以直接使用安裝指令、寫法。
msbuild 注意點
msbuild 部分可以使用.csproj ,必須要留意/p:DeployOnBuild=true必須要一起填寫,/p:PublishProfile=FolderProfile就不會引發錯誤。upload抓取publish路徑
[ Upload Artifact ] 本篇最需要的動作,必須要對應Repoitory路徑,若有錯誤訊息可以得知.pubxml檔案,會發行到哪個位置。
參考文件
本部落格所有文章除特別聲明外,均採用 CC BY-NC-SA 4.0 許可協議。轉載請註明來自 John Conte!
相關推薦
評論
DisqusGitalk